Quesadillas – A Flavorful Fiesta in Your Kitchen
Embrace the vibrant and delicious flavors of Mexican cuisine with these easy-to-make Chicken or Beef Quesadillas.
Perfect for a quick dinner or a fun family cooking session, quesadillas combine the hearty goodness of meat, the creaminess of cheese, and the zest of spices wrapped in a golden, crispy tortilla.
Skill Level: Beginner
This recipe is perfect for beginners. It involves simple cooking techniques like sautéing and grilling, and allows for customization according to taste preferences.
Health Considerations
Quesadillas can be a healthy option when made with whole wheat or corn tortillas, lean meats (like chicken breast or lean beef cuts), and reduced-fat cheese. Additionally, the inclusion of vegetables like bell peppers and onions boosts the fiber and nutrient content.
Time & Servings
- Prep Time: 20 minutes
- Cook Time: 10 minutes
- Total Time: 30 minutes
- Servings: 4
Chicken or Beef Quesadillas Recipe
Ingredients
- Chicken breasts or lean beef steak, 500g (17.6 oz)
- Whole wheat or corn tortillas, 8 (medium size)
- Shredded cheese, 200g (7 oz)
- Olive oil, 15ml (1 tablespoon)
- Red bell pepper, thinly sliced, 150g (5.3 oz)
- Onion, thinly sliced, 100g (3.5 oz)
- Ground cumin, 5g (1 teaspoon)
- Paprika, 5g (1 teaspoon)
- Salt and pepper, to taste
Instructions
- Meat Preparation: Thinly slice the chicken or beef. Season with salt, pepper, cumin, and paprika.
- Vegetable Sauté: In a pan, heat olive oil over medium heat. Add the onions and bell peppers, sautéing until soft. (Optionally, you can add corn, peas, beans, any veggie you want!)
- Cook Meat: Add the meat to the pan and cook until browned and cooked through.
- Assemble Quesadillas: On half of each tortilla, spread a portion of the cooked meat and vegetable mixture. Sprinkle cheese on top.
- Grill Quesadillas: Fold the tortillas in half. In a clean pan, cook each quesadilla until the tortilla is crispy and the cheese melts.
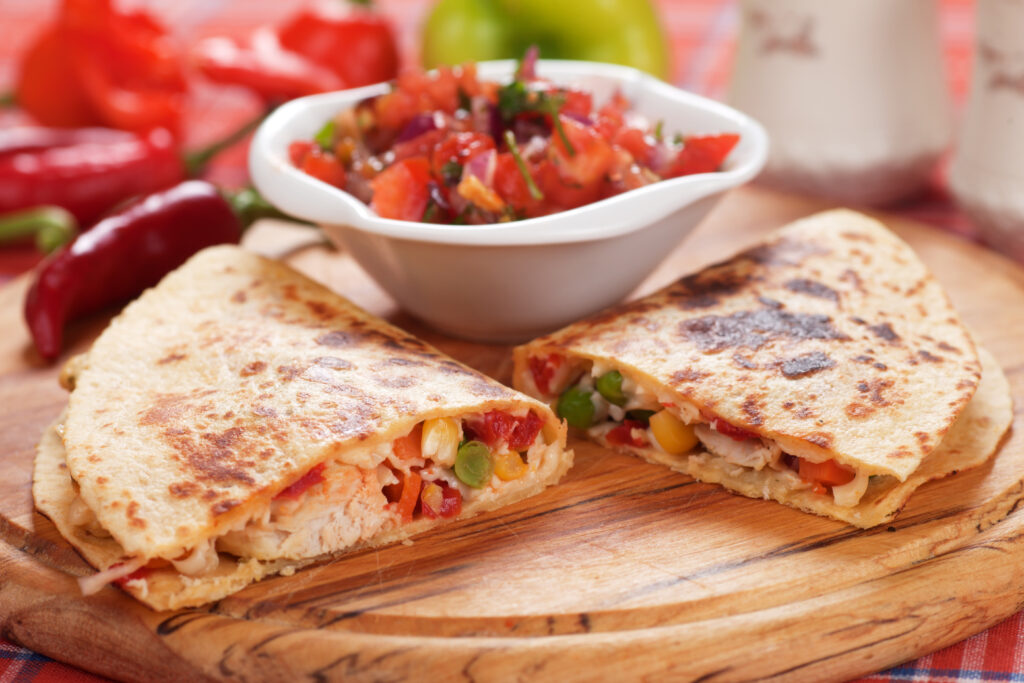
- Serving: Cut the quesadillas into wedges and serve hot.
Tips for Perfection
- Use a non-stick pan to prevent sticking.
- Cook on medium heat to ensure even crisping without burning.
- Don’t overfill the quesadillas to avoid spilling.
Optional Ingredients
- Jalapeños, sliced
- Diced green chiles
- Black beans, rinsed
- Fresh cilantro, chopped
- Sour cream or Greek yogurt for dipping
Vegetarian Suggestions
Replace meat with:
- Grilled portobello mushrooms
- Black beans
- Sautéed spinach and corn
Serving Suggestions
Serve with:
- Salsa
- Guacamole
- Sour Cream
- Mexican rice
- Refried beans*
Nutritional Information (Per Serving)
- Calories: Approximately 400-500
- Protein: 30g
- Carbohydrates: 35g
- Fat: 15g
Storing & Reheating
- Storage: Refrigerate in an airtight container for up to 3 days.
- Reheating: Reheat in a pan over medium heat or in a microwave until hot.
Origin and History
Quesadillas originated in Mexico during the colonial era. The name derives from ‘queso’, the Spanish word for cheese, which is a key ingredient. Traditionally, it was a simple meal of cheese in a corn tortilla, but variations with meat and vegetables have evolved.
Conclusion
Enjoying these Chicken or Beef Quesadillas brings a taste of Mexican culinary heritage to your table. Easy, customizable, and delicious, they are perfect for any meal where fun and flavor are on the menu..
(This post updated from an earlier recipe.)
¡Buen provecho!
P.S. I don’t know about you, but I never seem to have enough food storage containers. Either that or I don’t have (or can’t find) the size I need. With that in mind, may I recommend…
.